building a raspberry pi 4 cluster
The following is my experience with building and configuring a Raspberry Pi 4 cluster running Kubernetes, hopefully it’s helpful to you in your endeavors.
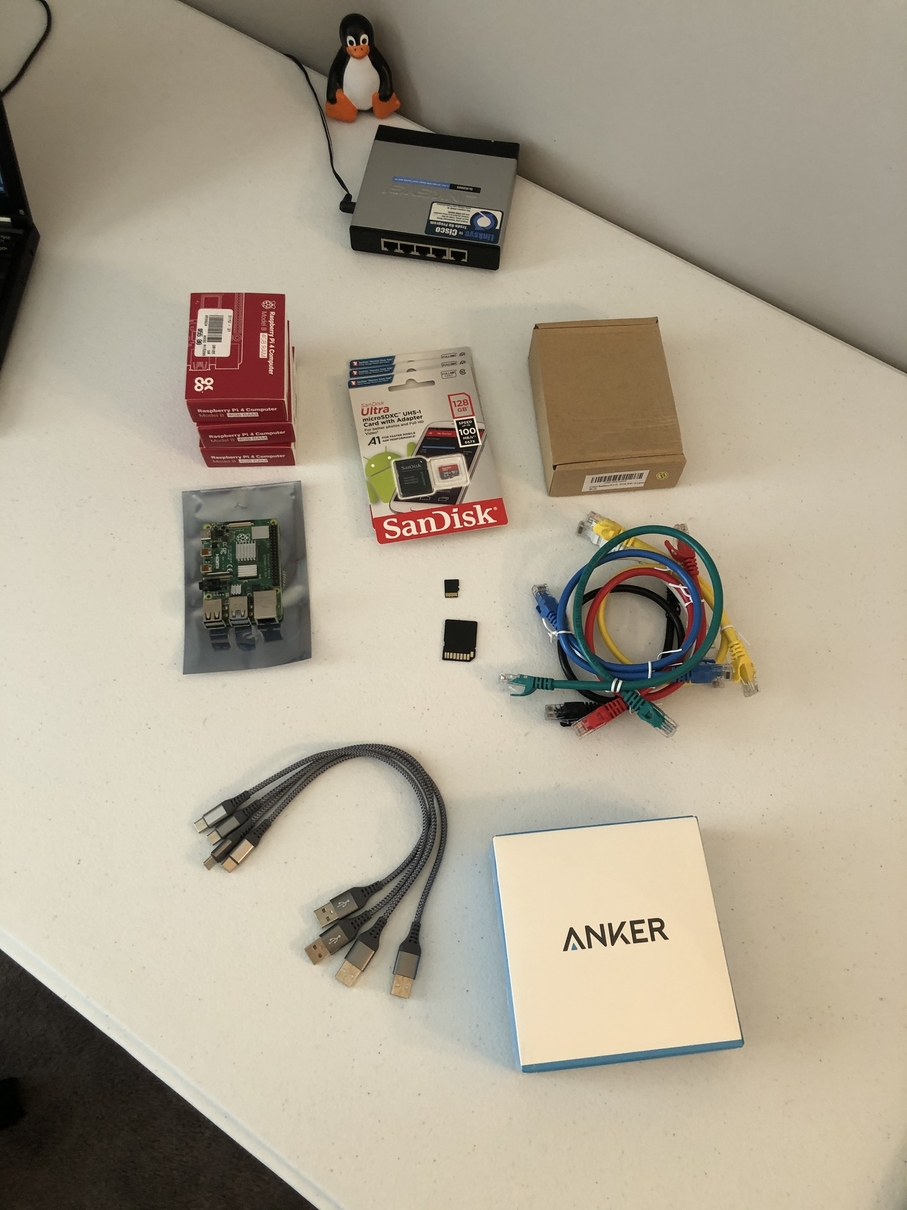
Parts List
- 4x Raspberry Pi 4 Module B - 4GB DDR4
- Anker 63W USB Wall Charger
- 2x 2-Pack 1ft USB-C Cable
- 6-Pack 1.5ft Cat6 Ethernet Cables
- 4x SanDisk Ultra 128GB microSDXC UHS-I card (Overkill)
- Raspberry Pi 4 Cluster Case with Cooling Fan and Heatsink
- Linksys SLM2005 5-Port 10/100/1000 Switch
The above items were purchased from Micro Center, eBay, and Amazon. No affiliate links have been used.
Having 4 Raspberry Pi’s here is not some sort of hard or fast requirement. It seemed that most of the cluster cases I found on the internet supported at the most 4. You can very well use as little as 2 all the way up to whatever your wallet allows.
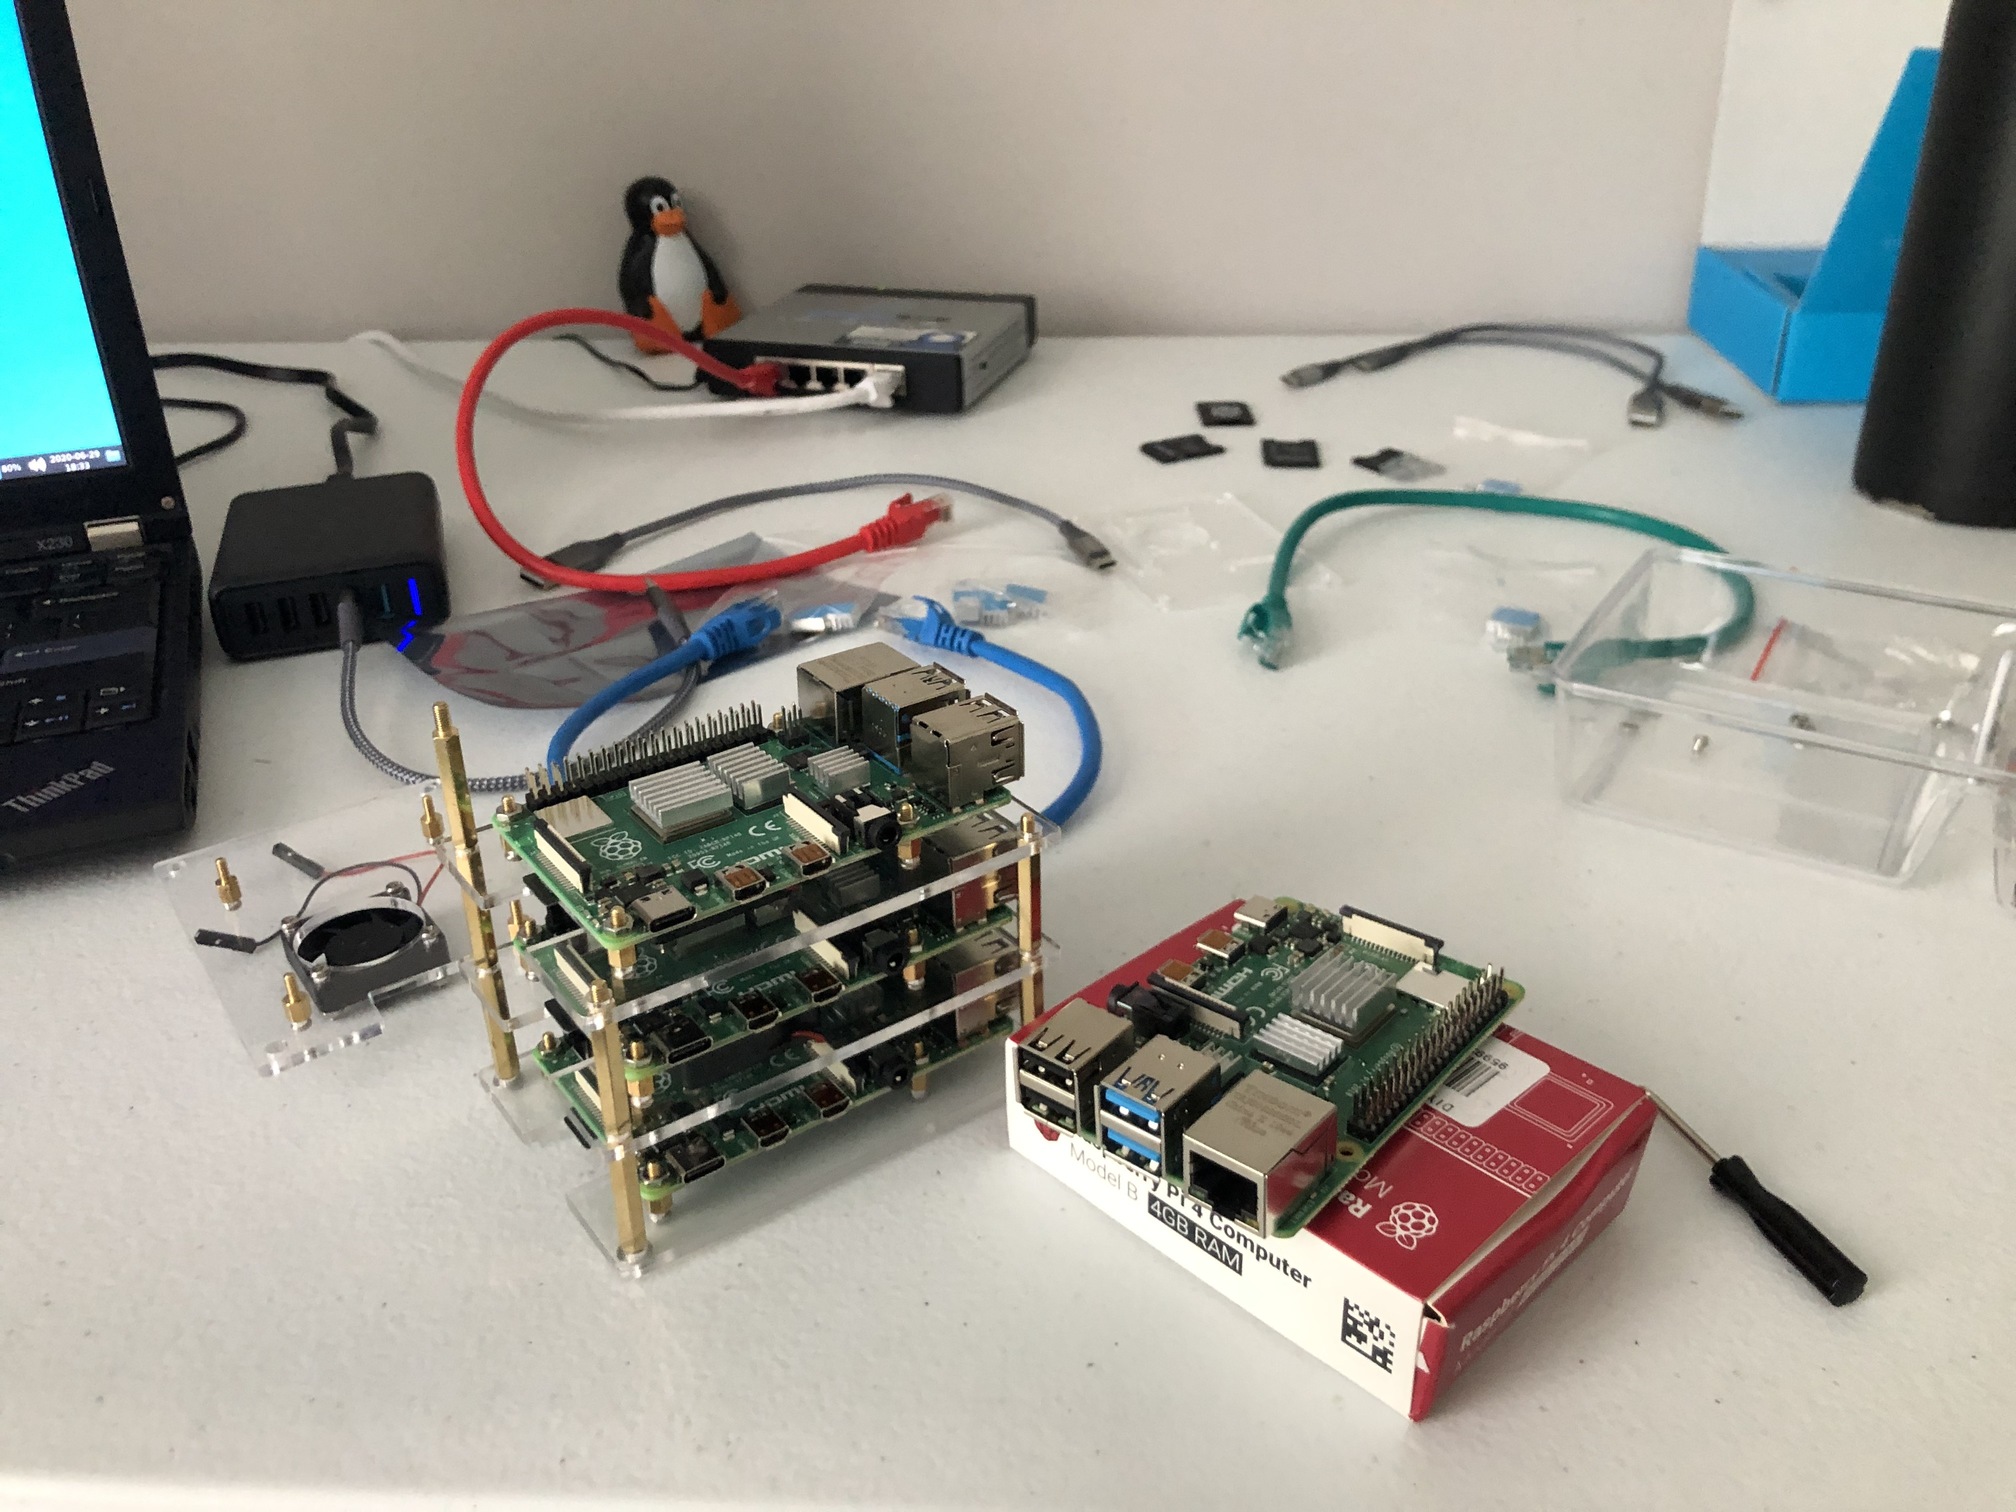
Assembling the Cluster Case
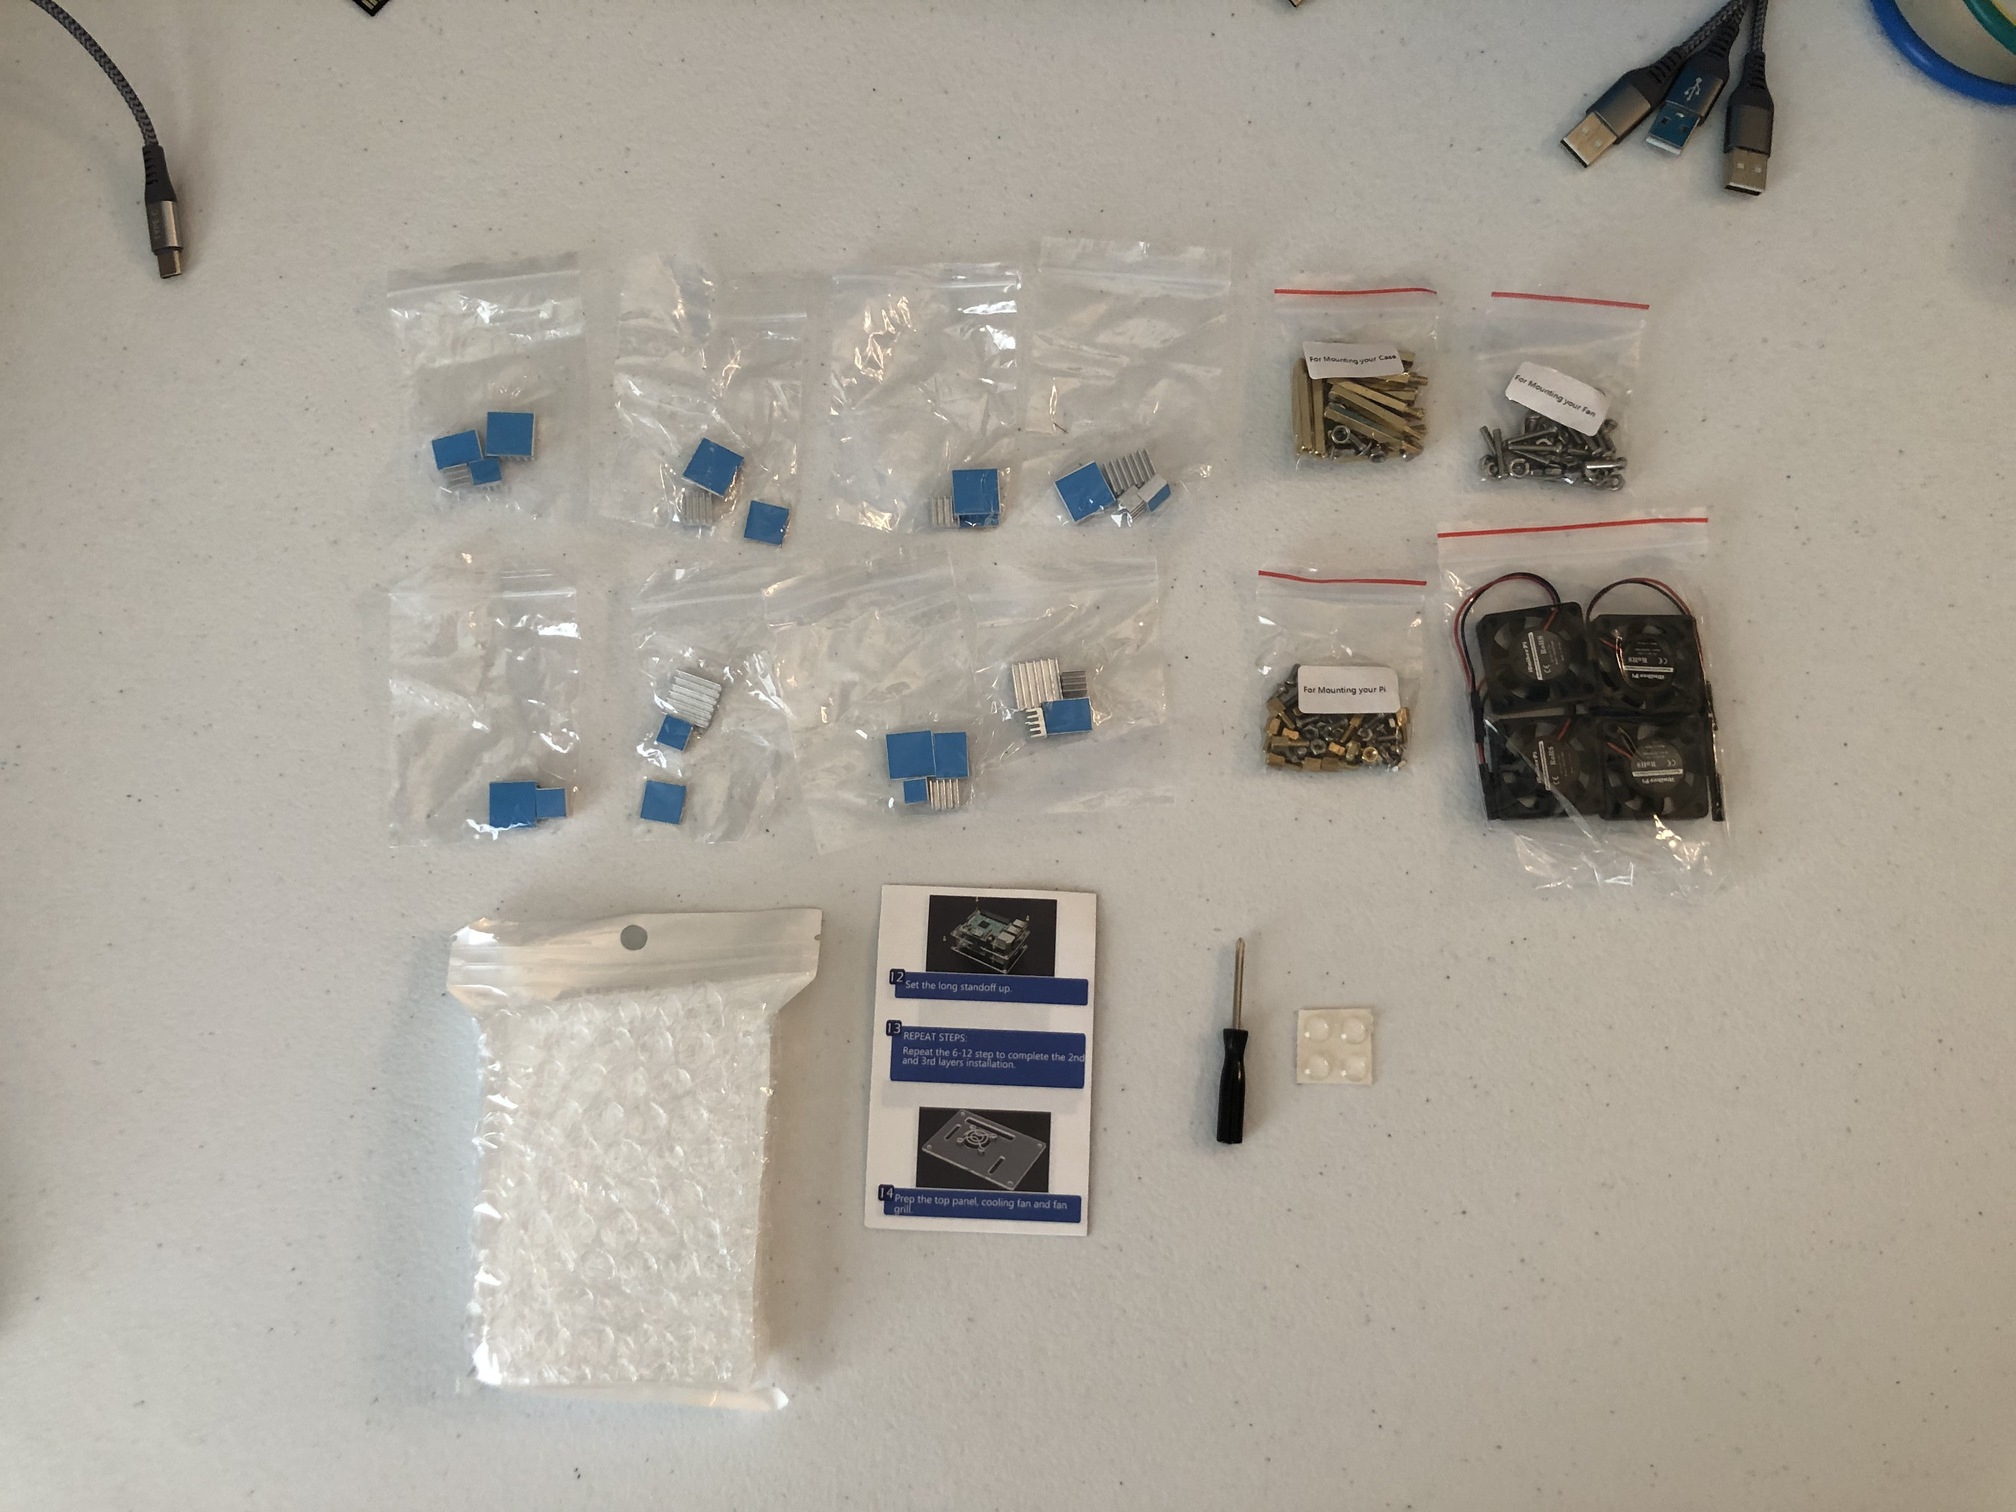
This step could be done at any time, but I found it easier just to get it over with right away. Assembly was fairly simple, there’s only a few instructions to follow, most of which are repetition. While probably not effective case, this kit will also allow you to build a 2 or 3 node cluster, just omit any extra layers/parts.
Installing Pi OS
First, download the latest verison of Raspberry Pi OS (32-bit) Lite here (or directly, here).
At the time of writing this, the latest version available was 2020-05-27, which is used throughout this write up.
Note: a beta of 64-bit Pi OS in development at the moment. I may update this entry or create a new one when it reaches a stable state (the 8GB Raspberry Pi 4 has hit the market as well).
modifying the image
Since this setup is entirely headless, we’ll need to enable ssh so that it is available to us when we connect our Pis to power and Ethernet. This is usually done after writing the Pi OS image to a SD card and creating a file named ssh or ssh.txt in the boot partition. However, since all the hardware is identical in this setup (and given that I only have one SD card slot to work with), we’re going to take a nice quality of life step and modify the base image first.
First, create a mount point:
mkdir /mnt/img
Next, we’ll use file to find the starting sector of the first partition:
file 2020-05-27-raspios-buster-lite-armhf.img
2020-05-27-raspios-buster-lite-armhf.img: DOS/MBR boot sector; partition 1 : ID=0xc, start-CHS (0x40,0,1), end-CHS (0x3ff,3,32), startsector 8192, 524288 sectors; partition 2 : ID=0x83, start-CHS (0x3ff,3,32), end-CHS (0x3ff,3,32), startsector 532480, 3088384 sectors
From the above output, we can see that the sector we’re interested in is 8192. Since each sector is 512 bytes, we need to mount the image file with an offset of 8192*512 bytes.
This value can be found using this really ugly bash below that can probably be simplified:
expr $(file 2020-05-27-raspios-buster-lite-armhf.img | grep -oiP '(?<=startsector )[[:digit:]]+' | head -n1) \* 512
4194304
offset=$(!!)
Using the value obtained above and stored in $offset, mount the image to the mount point created earlier.
mount -o loop,offset=$offset ./2020-05-27-raspios-buster-lite-armhf.img /mnt/img
Now that we’ve monuted the /boot successfully, create the following file below and unmount:
touch /mnt/img/ssh
umount /mnt/img
writing to micro SD card
Insert your micro SD card into your device (or adapter) list the block devices on your computer:
lsblk
NAME                                          MAJ:MIN RM   SIZE RO TYPE  MOUNTPOINT
sda                                             8:0    0 465.8G  0 disk
├─sda1                                          8:1    0     1G  0 part  /boot
└─sda2                                          8:2    0 464.8G  0 part
  └─luks-x-x-x-x-x                            253:0    0 464.8G  0 crypt
    ├─fedora_localhost--live-root             253:1    0    70G  0 lvm   /
    ├─fedora_localhost--live-swap             253:2    0   7.8G  0 lvm   [SWAP]
    └─fedora_localhost--live-home             253:3    0   387G  0 lvm   /home
mmcblk0                                       179:0    0 119.1G  0 disk
└─mmcblk0p1                                   179:1    0 119.1G  0 part
In my case, I’ll be using mmcblk0 but your mileage may vary.
Write your image to that device:
dd if=2020-05-27-raspios-buster-lite-armhf.img of=/dev/mmcblk0 bs=4M oflag=sync status=progress
1849688064 bytes (1.8 GB, 1.7 GiB) copied, 117 s, 15.8 MB/s
442+0 records in
442+0 records out
1853882368 bytes (1.9 GB, 1.7 GiB) copied, 117.649 s, 15.8 MB/s
and repeat this process cluster_size - 1 more times.
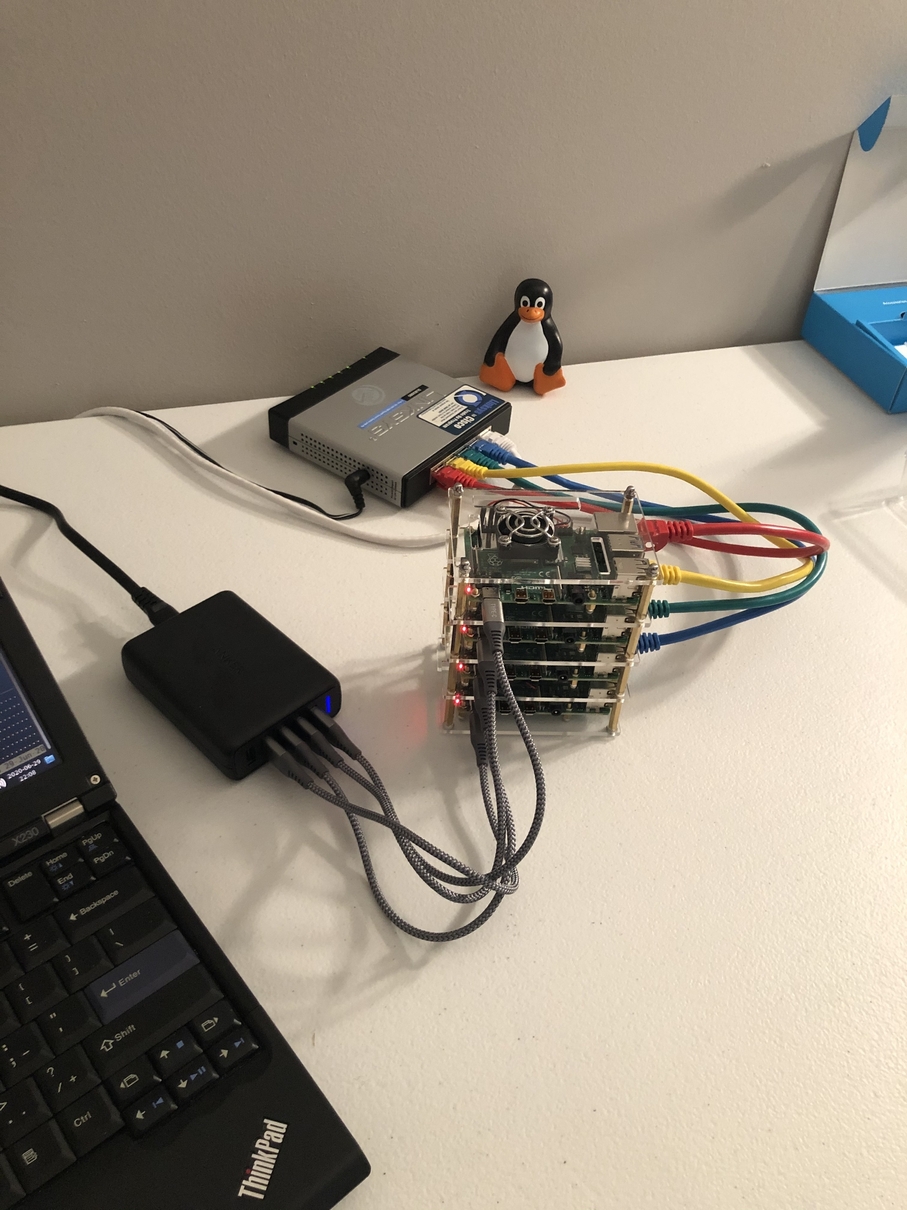
powering on the Pis
Insert your micro SD cards into each pi and connect them all to Ethernet first. I took the liberty of using different colored Ethernet cables to designate each Pi in lieu of labels.
I attached my Pis to power one at a time so that I could run the command below and note each Pi’s MAC address for my home router’s DHCP.
nmap -sn 192.168.1.0/24 | grep -i 'raspberry'
Next, I logged into the web interface for my router and created an address reservation entry for each Pi. 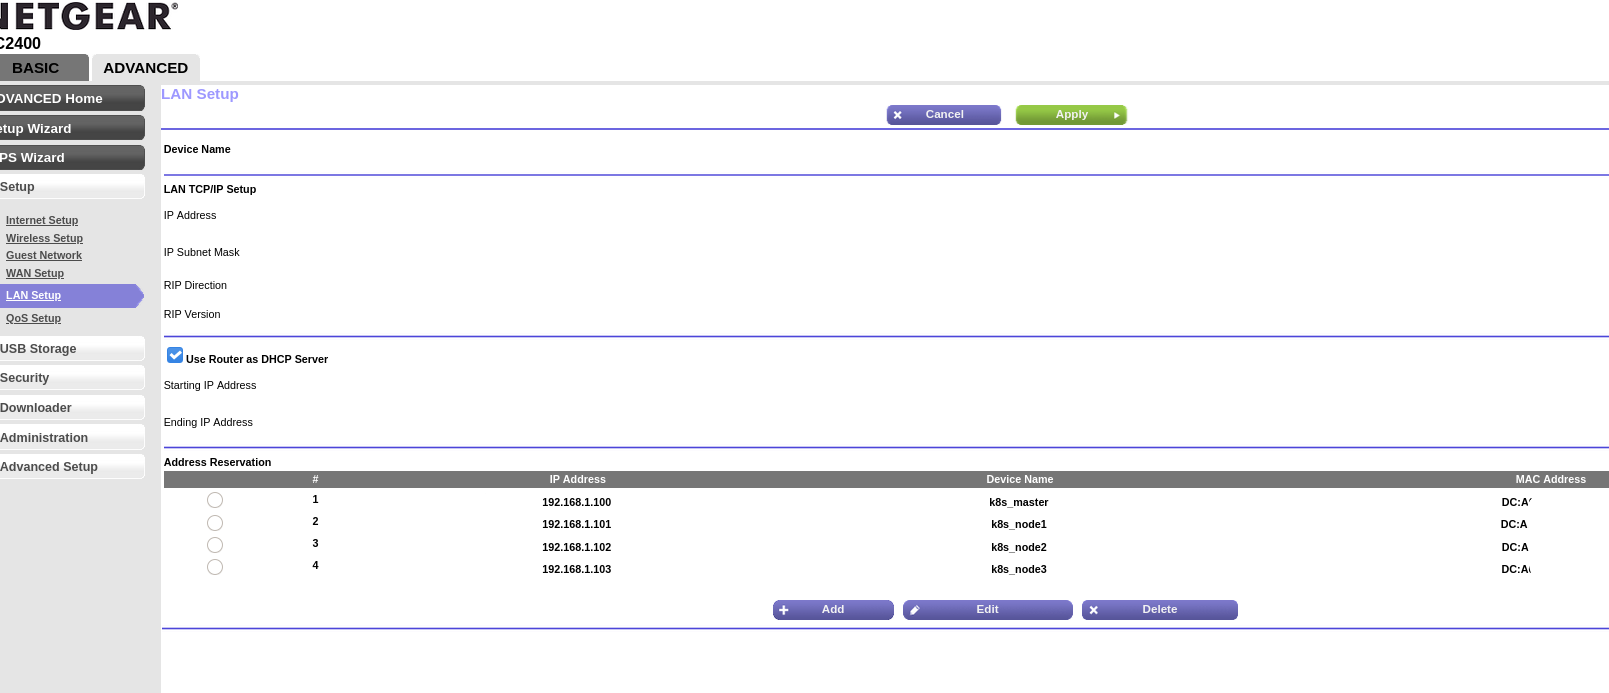
That’s all there is to it. With each Pi now connected to power and Ethernet, you’re ready to start on the cluster configuration.
prep-work
Before we get into configuring our cluster, I’ve made a few configurations on my computer to better my workflow.
/etc/hosts
192.168.1.100 master
192.168.1.101 node1
192.168.1.102 node2
192.168.1.103 node3
generate passwordless ssh key
ssh-keygen -q -N "" -f ~/.ssh/pi_key
~/.ssh/config
Host master
	HostName 192.168.1.100
	User pi
	IdentityFile ~/.ssh/pi_key
Host node1
	HostName 192.168.1.101
	User pi
	IdentityFile ~/.ssh/pi_key
Host node2
	HostName 192.168.1.102
	User pi
	IdentityFile ~/.ssh/pi_key
Host node3
	HostName 192.168.1.103
	User pi
	IdentityFile ~/.ssh/pi_key
configure hosts with Ansible
Since the upcoming steps call for a passwordless ssh user, I created this playbook to:
- prompt for pi’s new password
- copy the ssh key we generated above
- set each pi’s hostname
Clone the playbook:
git clone https://gitlab.com/jorp/prep_pi_cluster.git
After changing inventory.ini as needed to your desired hostnames/IPs, run the playbook with:
ansible-playbook configure_pi.yml
verify and test your newly created key against all nodes:
ansible all -i inventory.ini -m ping --private-key ~/.ssh/pi_key
master | SUCCESS => {
    "ansible_facts": {
        "discovered_interpreter_python": "/usr/bin/python"
    },
    "changed": false,
    "ping": "pong"
}
node2 | SUCCESS => {
    "ansible_facts": {
        "discovered_interpreter_python": "/usr/bin/python"
    },
    "changed": false,
    "ping": "pong"
}
node3 | SUCCESS => {
    "ansible_facts": {
        "discovered_interpreter_python": "/usr/bin/python"
    },
    "changed": false,
    "ping": "pong"
}
node1 | SUCCESS => {
    "ansible_facts": {
        "discovered_interpreter_python": "/usr/bin/python"
    },
    "changed": false,
    "ping": "pong"
}
Installing k3s
Being (somewhat) limited by the hardware (for now) in this cluster, we’ll be using a lightweight distribution of Kubernetes called k3s, developed by Rancher. k3s has great functionality for its smaller size and stripped dependencies, while still maintaining certified Kubernetes distribution status.
First, you’ll need to clone rancher’s k3s Ansible repository to your computer:
git clone https://github.com/rancher/k3s-ansible.git
Then, following their README, do the following:
cd k3s-ansible
cp -R inventory/sample inventory/my-cluster
Edit the inventory to match the IPs of your nodes:
vim inventory/my-cluster/hosts.ini
Change the default user from debian to pi:
sed -i 's/debian/pi/' inventory/my-cluster/group_vars/all.yml
Run the playbook against your Pis:
ansible-playbook site.yml -i inventory/my-cluster/hosts.ini --private-key ~/.ssh/pi_key
Finally, copy the kubectl configuration from your master node:
mkdir ~/.kube
scp pi@master:~/.kube/config ~/.kube/config
Check on your nodes:
kubectl get nodes
NAME     STATUS   ROLES    AGE     VERSION
node3    Ready    <none>   5m7s    v1.17.5+k3s1
node1    Ready    <none>   5m7s    v1.17.5+k3s1
node2    Ready    <none>   5m6s    v1.17.5+k3s1
master   Ready    master   5m24s   v1.17.5+k3s1